Every seasoned shooter knows: black powder is unforgiving, and a dirty muzzleloader will prove it.
Leave a dirty barrel overnight and you're already losing the fight against corrosion. Fouling corrodes fast and some of that damage can't be undone.
Here's the correct process to clean a muzzleloader from breech plug to bore, whether you're shooting at the range or preparing for long-term storage.
READ MORE:CVA Paramount HTR .40-Caliber Muzzleloader Review
Why Cleaning a Muzzleloader Matters
A dirty muzzleloader can cause problems fast. Too much fouling can make loading the gun quite difficult. It can even throw off accuracy.
Even worse, a prolonged dirty barrel can lead to pitting. This damage is corrosive, eats away at the metal, and can't be reversed. If bad enough, a replacement is needed. And failing to replace when needed can lead to significant injury, or even death if the muzzleloader malfunctions.
In addition to being corrosive, black powder (even Pyrodex) is hygroscopic, meaning the resulting fouling holds moisture. This leads to additional corrosion and residue buildup that can overtake and ruin your muzzleloader over time.
What You'll Need to Start
Step 1: Read the Product Manual

Every muzzleloader is different. Breech plug torque specs, solvent compatibility, and disassembly sequences vary between inline and traditional designs – and getting any of them wrong can damage the gun or create a safety hazard. Before cleaning a new muzzleloader for the first time, read the manual. Follow all directives and safety precautions.
Step 2: Use the Right Cleaning Products
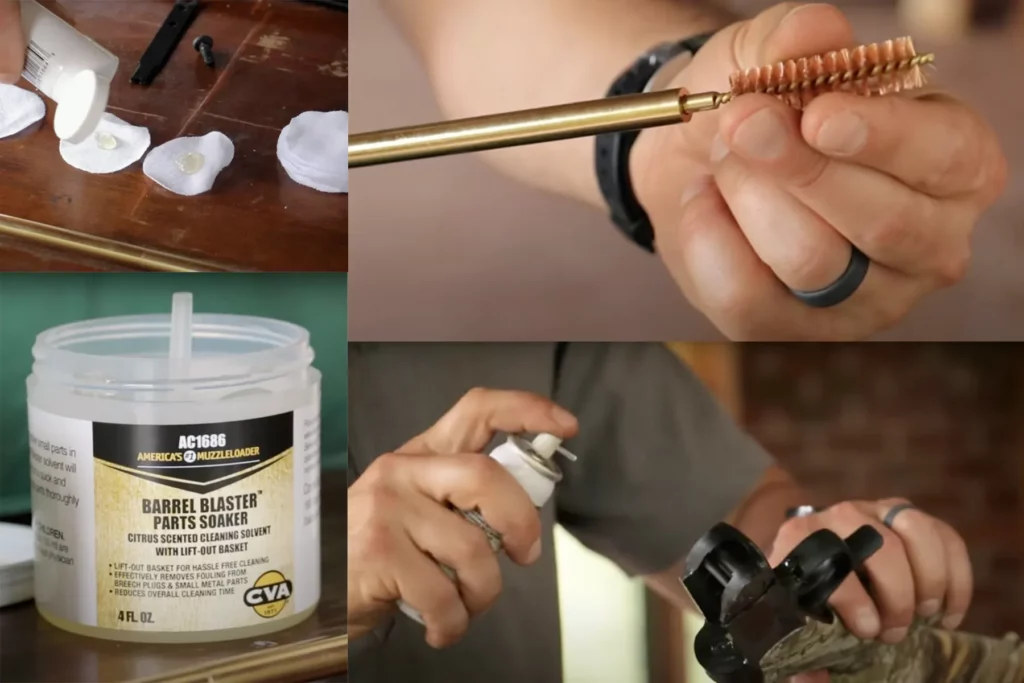
Avoid petroleum-based cleaning products. Firing a muzzleloader that's been cleaned and lubed with a petroleum-based product accelerates fouling buildup and corrosion. Use a natural cleaner instead. For post-clean barrel protection and storage, Bore Butter is a reliable natural option. Apply it to both the interior and exterior of the barrel. Before you start, make sure you have the following on hand:
- Breech plug wrench
- Cleaning patches (cotton or approved synthetic)
- Range rod with T-handle
- Natural solvent
- Bore Butter or equivalent natural lubricant
- Anti-seize grease (for breech plug threads)
How to Clean a Muzzleloader: Step-by-Step
Step 3: Be Sure the Muzzleloader Is Unloaded
Before cleaning, confirm the muzzleloader is unloaded. Remove any cap or primer first. Then pull the breech plug. If the gun is loaded, remove the powder charge and bullet before proceeding.
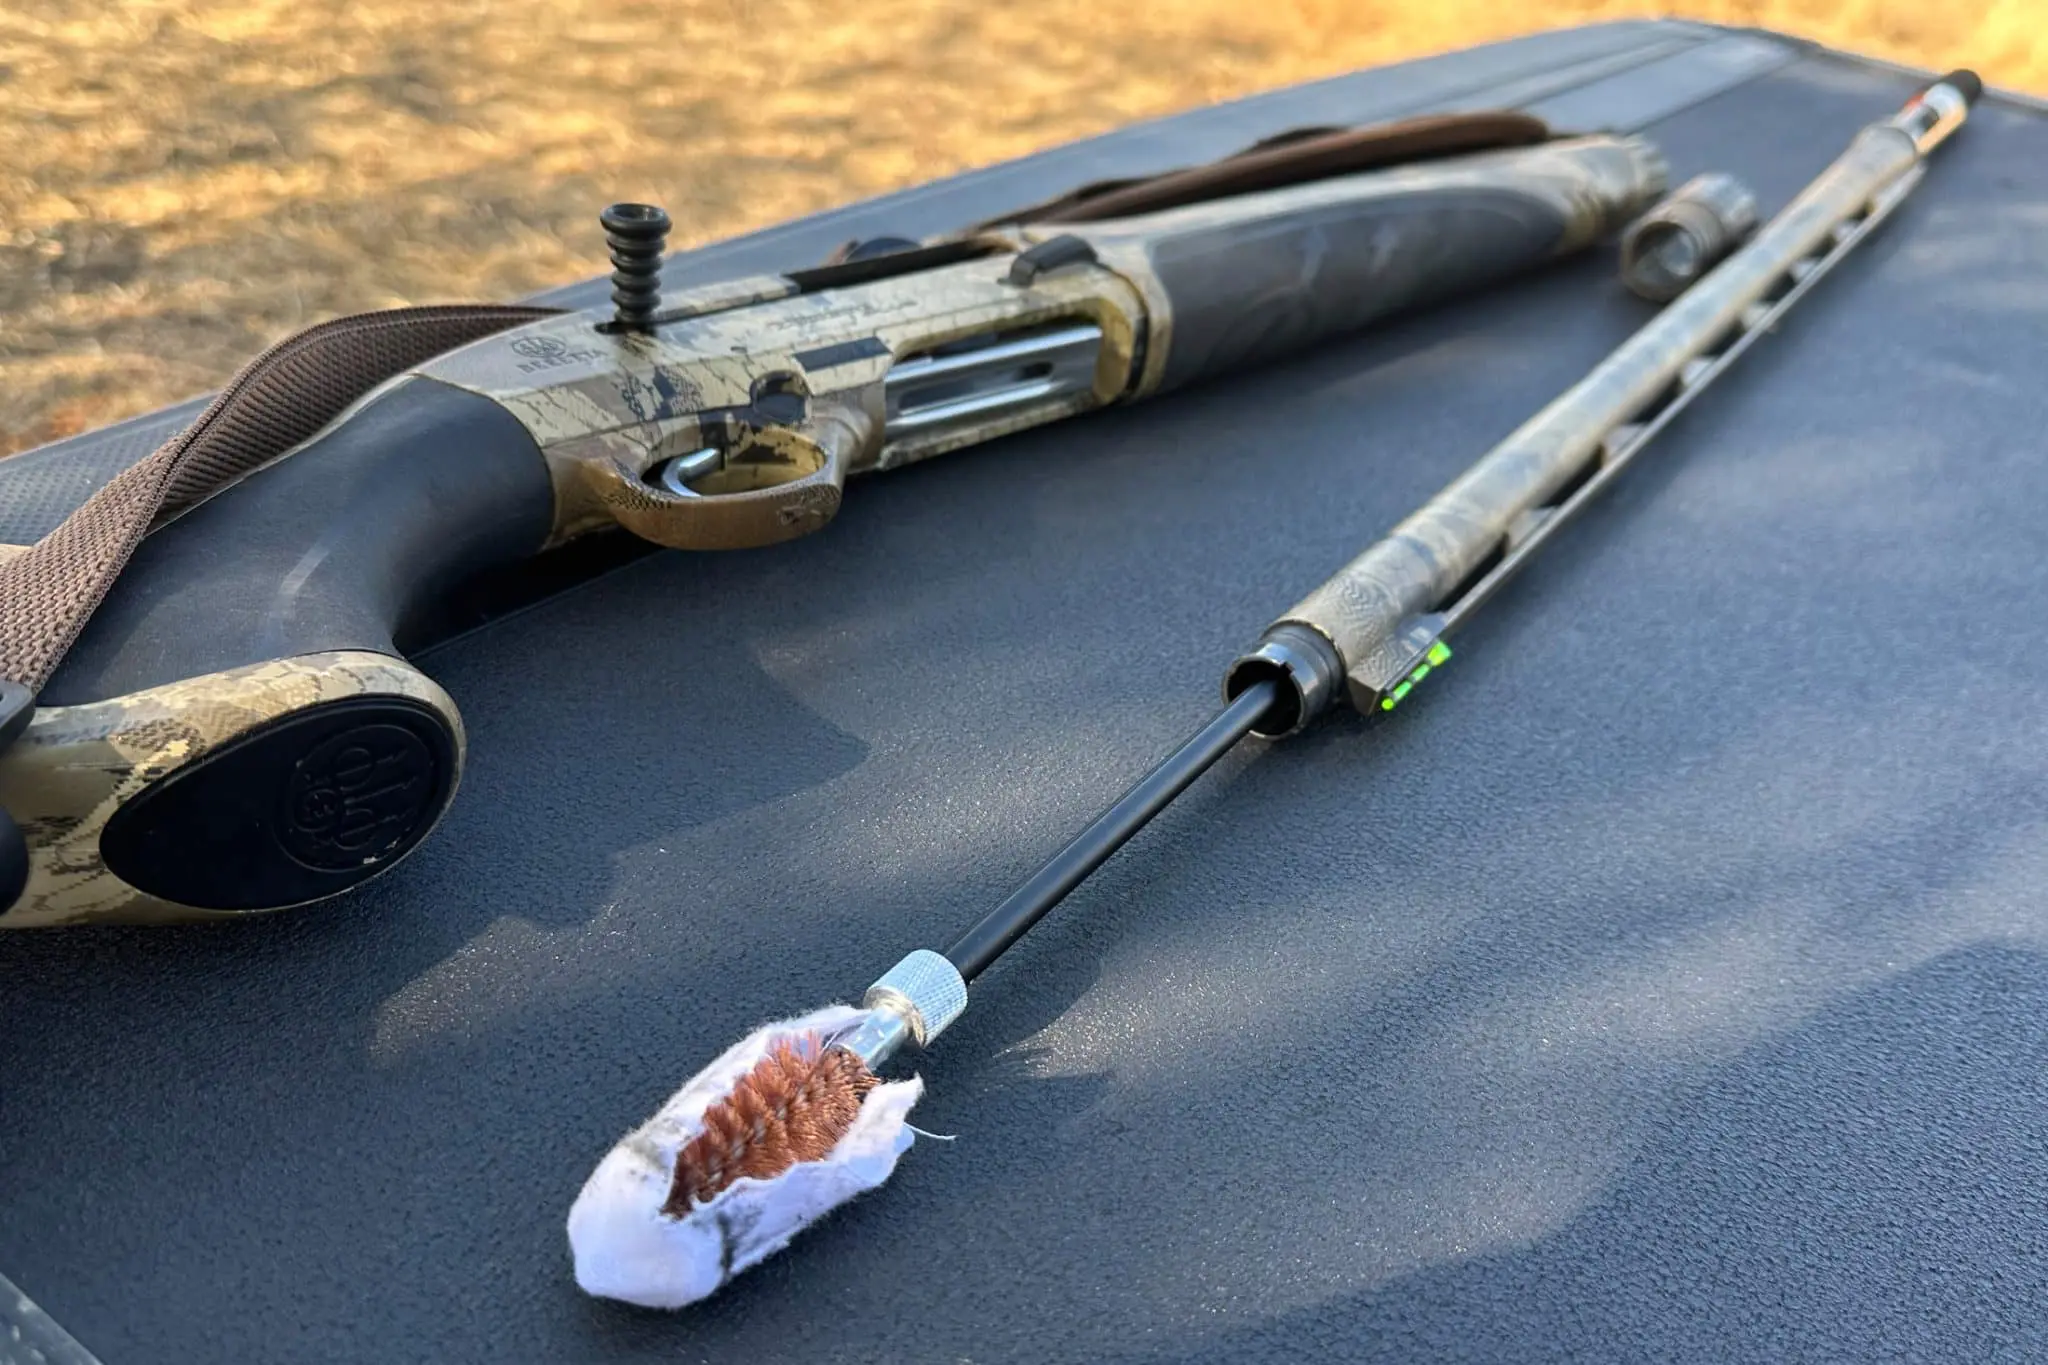
Step 4: Swab the Barrel with Patches Between Shots
Fouling builds up fast during a shooting session and will affect both loading ease and accuracy if left unchecked. Swab the barrel with patches between shots to stay ahead of it. Use cotton or approved synthetic patches. When cleaning the breech plug, work anti-seize grease into the threads before reassembly.
Step 5: Run Several Swabs Through the Barrel After a Shooting Session
A muzzleloader needs to be cleaned after every shooting session – not once a month, not once a season. Run several wet swabs through the barrel, followed by dry swabs, until all fouling and particles are cleared. Then treat the barrel for storage before putting the gun away.
READ MORE:New Ruger Harrier AR-15 Review: A Rugged Workhorse
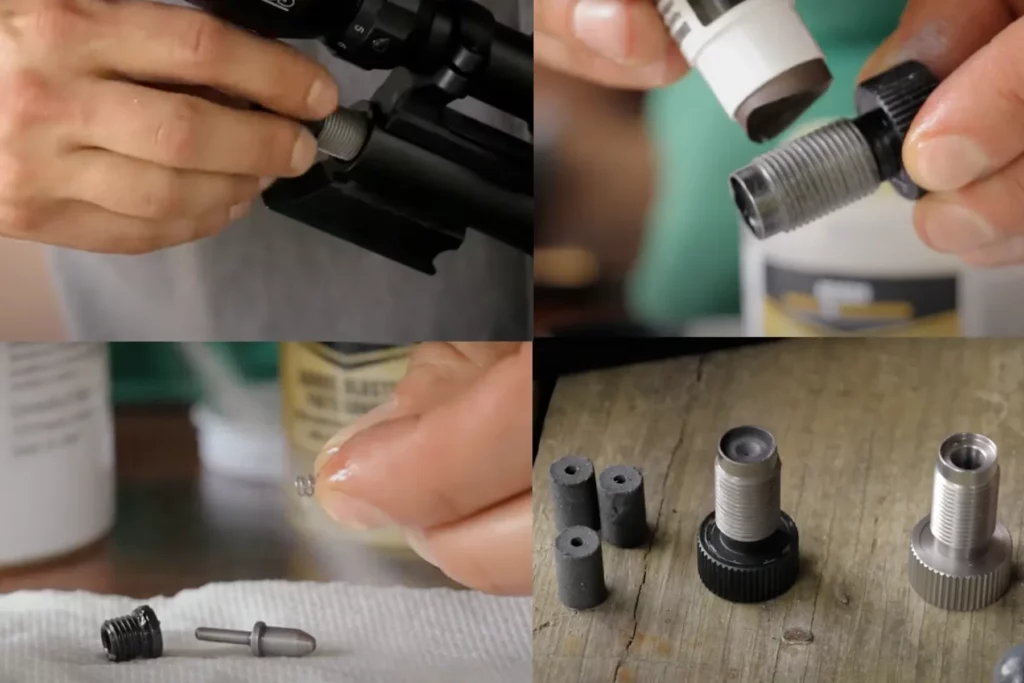
Deep Cleaning: Breech Plug, Firing Pin, and Barrel
Step 6: Conduct Regular Deep Cleans of the Muzzleloader
Routine swabbing keeps fouling at bay between sessions, but a full deep clean requires disassembly. The exact process varies by model – follow the product manual. In general, work through the following sequence:
- Remove the ramrod
- Pull the breech plug
- Remove the forearm
- Separate the barrel from the buttstock
- Remove the nipple (if applicable)
- Remove the cocking mechanism and spring (inline models)
- Disassemble the firing pin
Don't stop at the barrel. The breech plug and firing pin both accumulate powder buildup that will cause problems if ignored. Clean the breech face, breech end, and breech interior channel thoroughly. Remove all powder buildup and particles.

One common misconception: running 209 primers eliminates the need to clean the firing pin. BPI Outdoors – the maker of CVA muzzleloaders – is clear that this isn't true. The firing pin must be cleaned. The process takes about five to ten minutes, and the tools required come with every CVA kit at the time of purchase.
For barrels with heavy fouling, hot water can help. Place the muzzle end in a bucket, pour warm water down the barrel to heat it, or use a rod and patch to siphon water up from the bucket. Then run cleaning patches through with a range rod and T-handle, continuing until patches come out clean. Once the barrel is clear, run dry patches to remove all moisture.
For the full firing pin disassembly procedure, visit BPI Outdoors.
Step 7: Complete Regular Barrel Inspections
Cleaning is only half the job. Inspect the barrel regularly for signs of pitting or corrosion – damage that cleaning alone won't fix. Keep up the cleaning regimen, and a quality muzzleloader will last a lifetime.